Advantages
- Decreases Onboarding Time by 50%
Partner performing KYC for sub-merchants decreases onboarding time by half and ensures a seamless onboarding experience. - Value Added Service
Partner performing KYC acts as a delight feature for your clients.
Request KYC Access When Sending an Invite
You can request to perform KYC for your client when inviting them. During onboarding, your client will see a consent screen to allow you the access to perform KYC. They need to approve it for you to submit the KYC form on their behalf.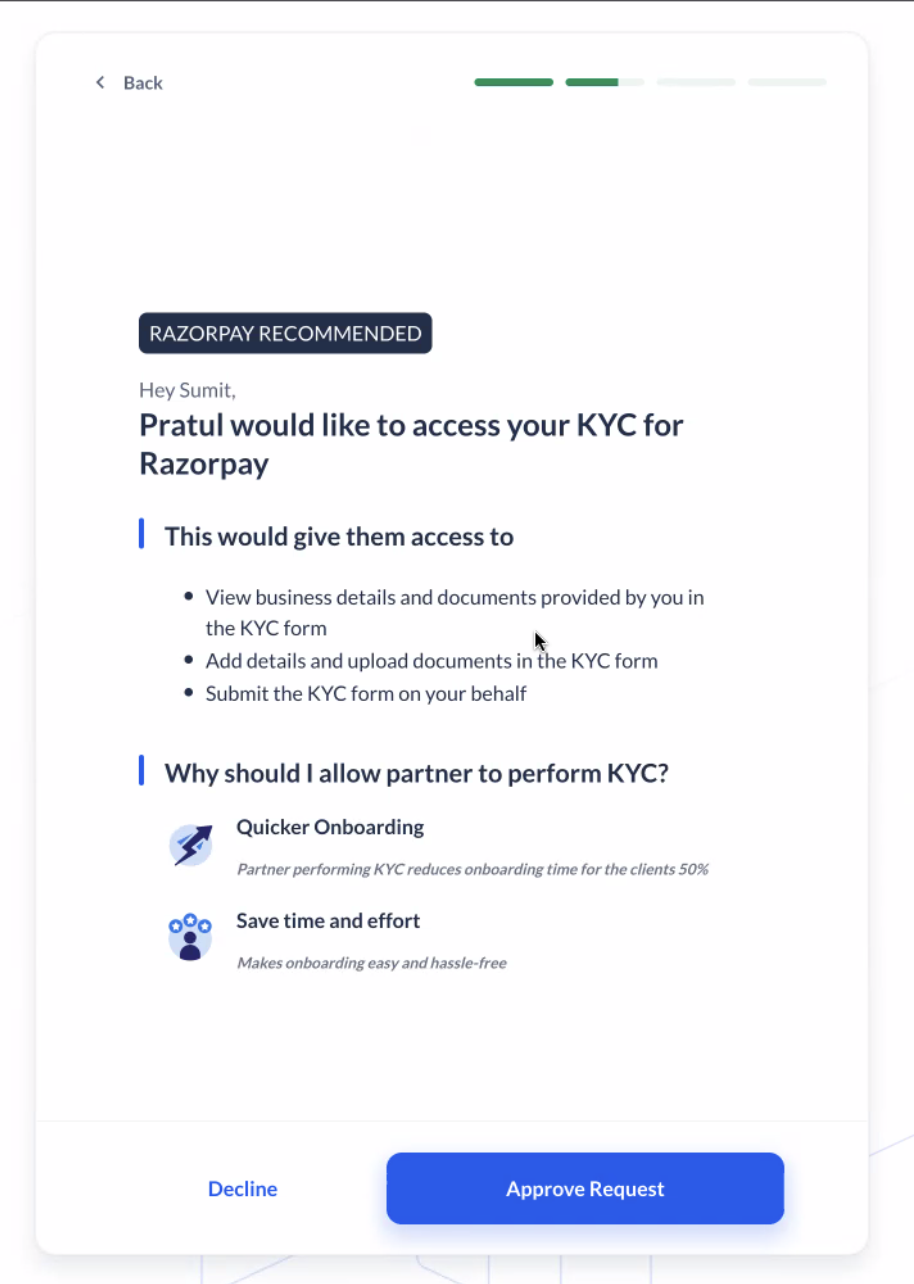
Invite Using Email
When inviting a client using email, you can opt in to assist their KYC by selecting Yes, I will assist my client with their KYC in the Assist the client with their KYC screen.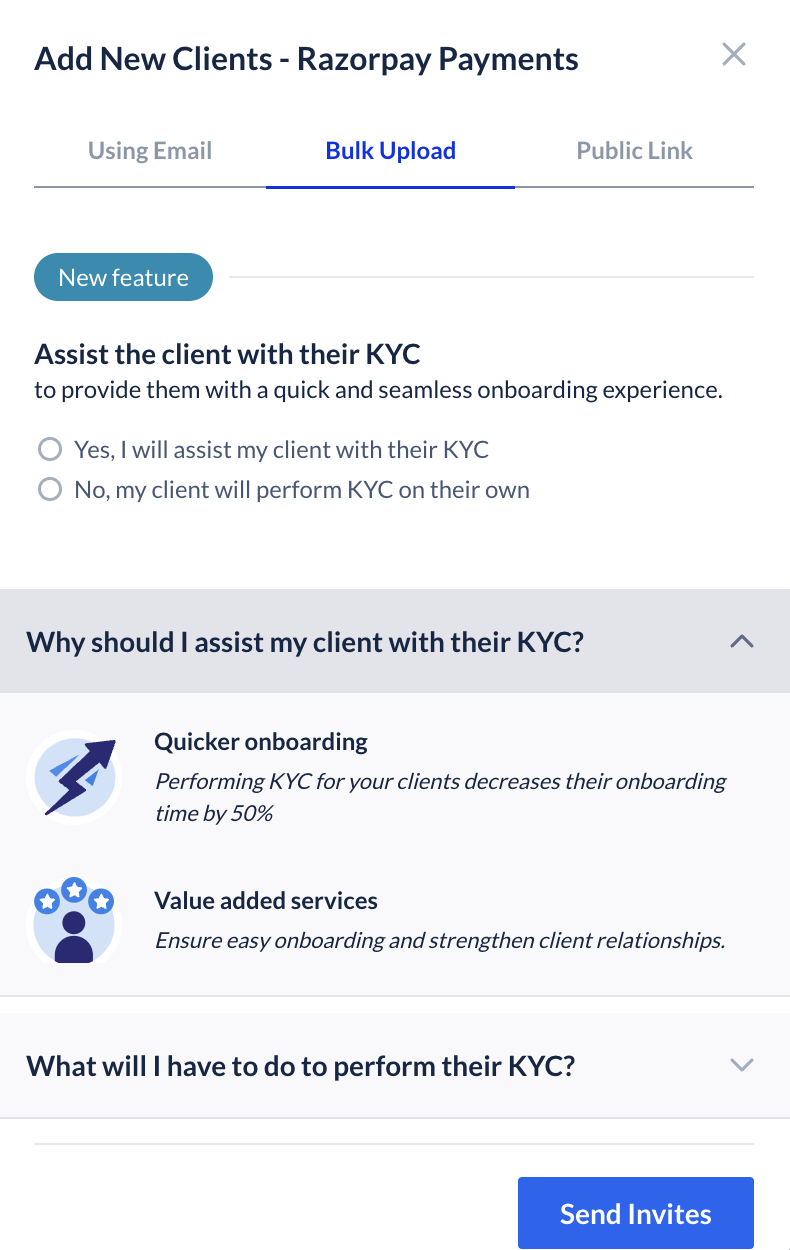
To request KYC access when sending an invite using an email:
To request KYC access when sending an invite using an email:
- Log in to the Dashboard.
- Click Partner and navigate to Affiliate Accounts.
- Select the Payments or RazorpayX tab depending on the product you want to refer your affiliate.
- Click + Add New Clients.
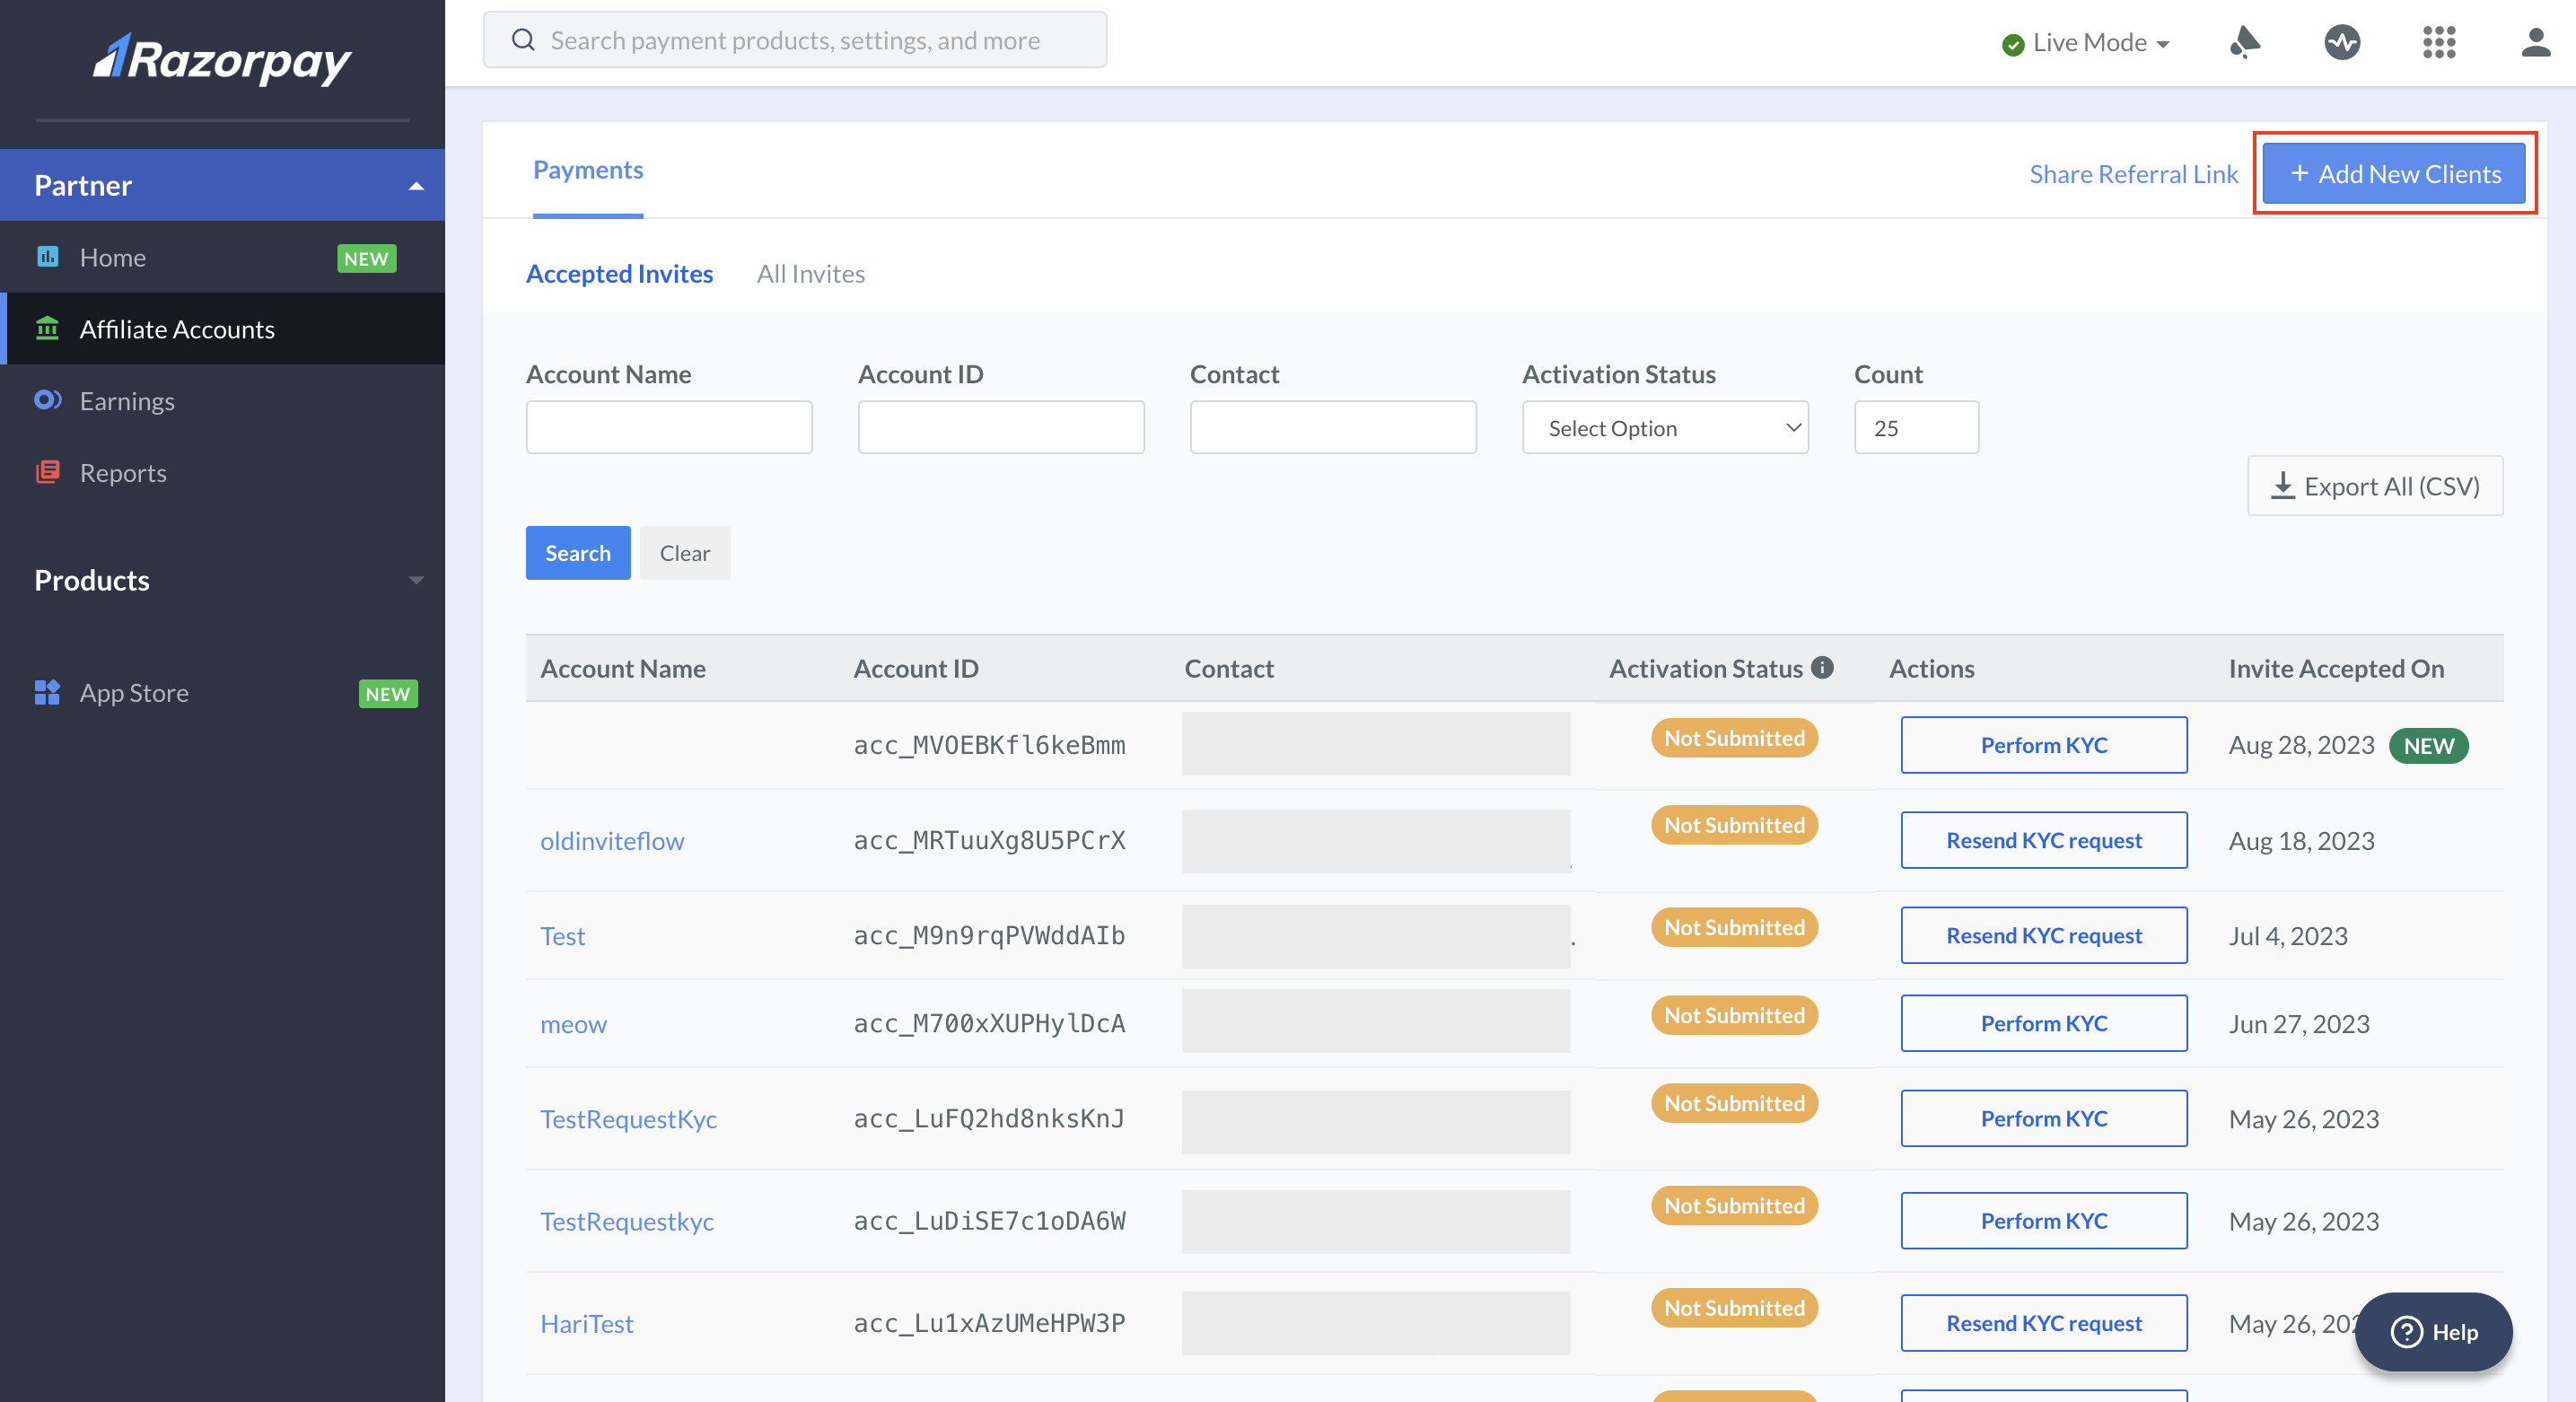
- Under the Using Email tab, enter the Client Name, Email ID and Contact number (optional) to which the invite link must be sent. Click Next.
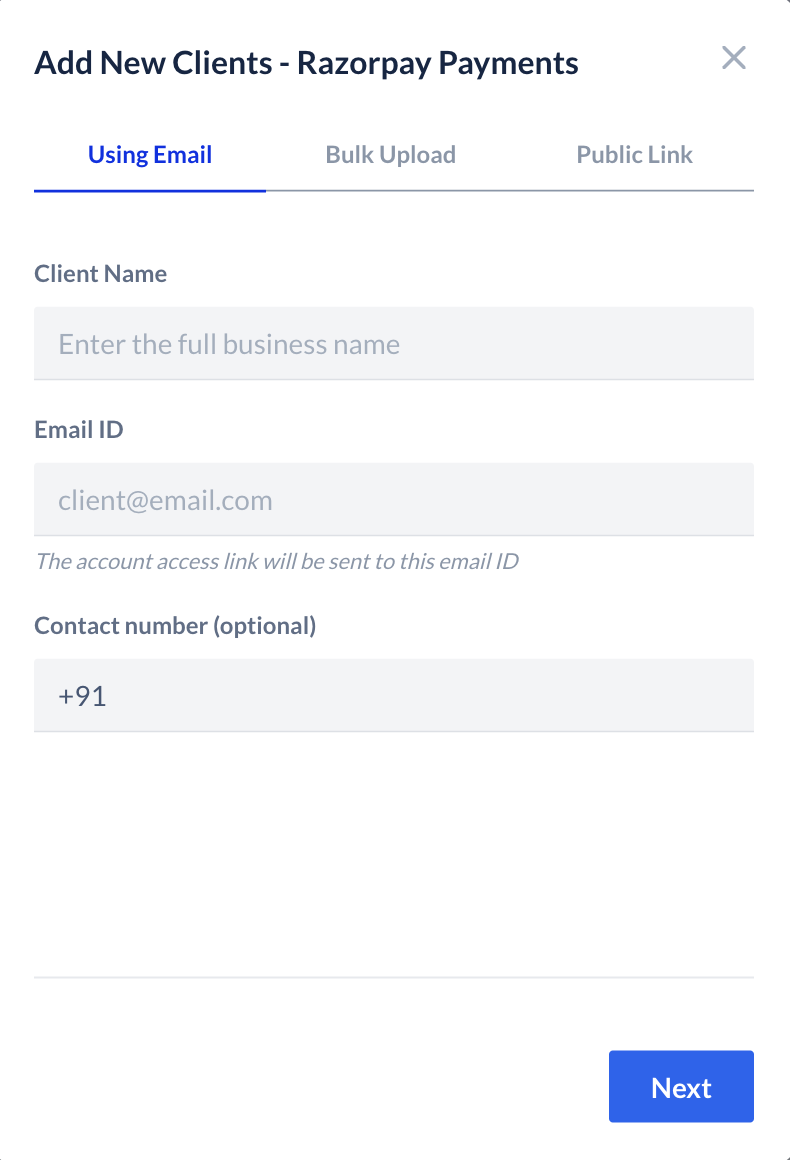
- Select Yes, I will assist my client with their KYC and click Send Invite.
Invite using Referral Link
When inviting a client using referral link, you can opt-in to assist their KYC by selecting Yes, I will assist my client with their KYC. This will generate a new link initiating a request for KYC access from the client during the onboarding process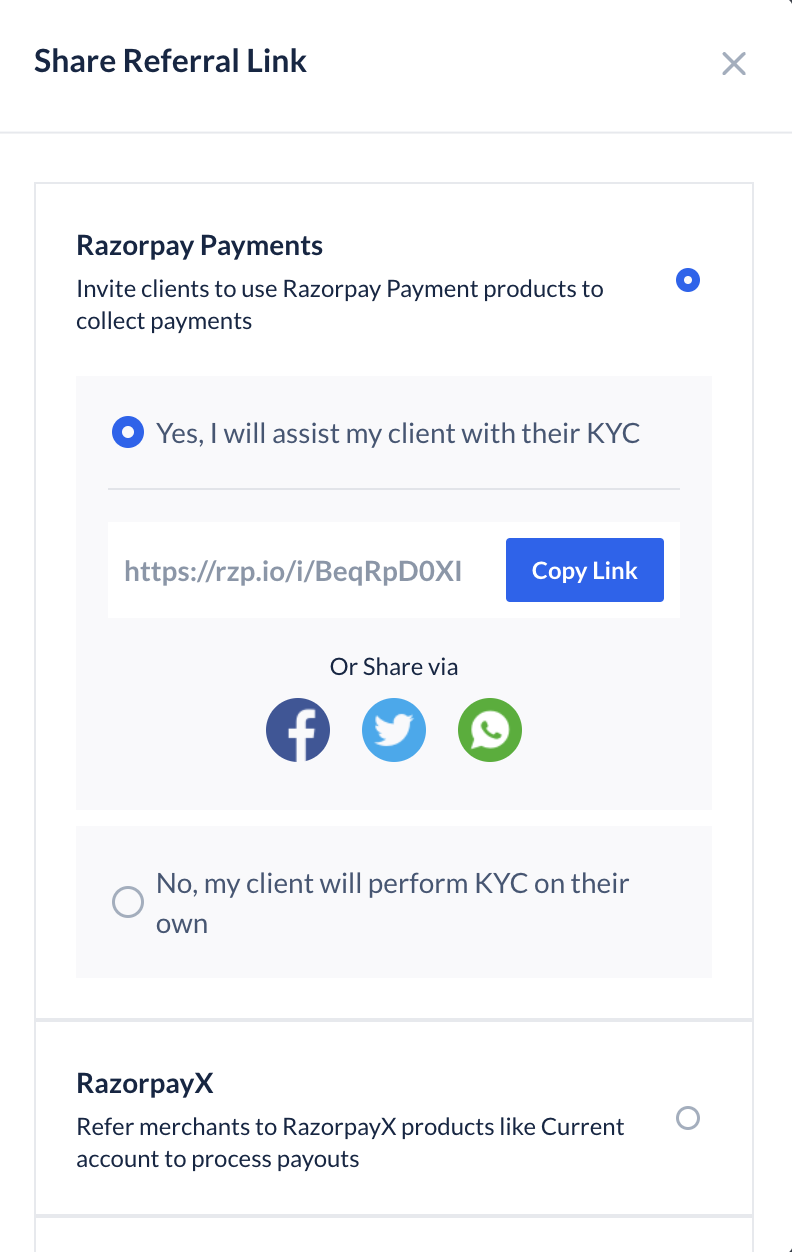
To request KYC access when inviting using referral link:
To request KYC access when inviting using referral link:
- Log in to the Dashboard.
- In the Partner section, navigate to Affiliate Accounts.
- Click Share Referral Link.
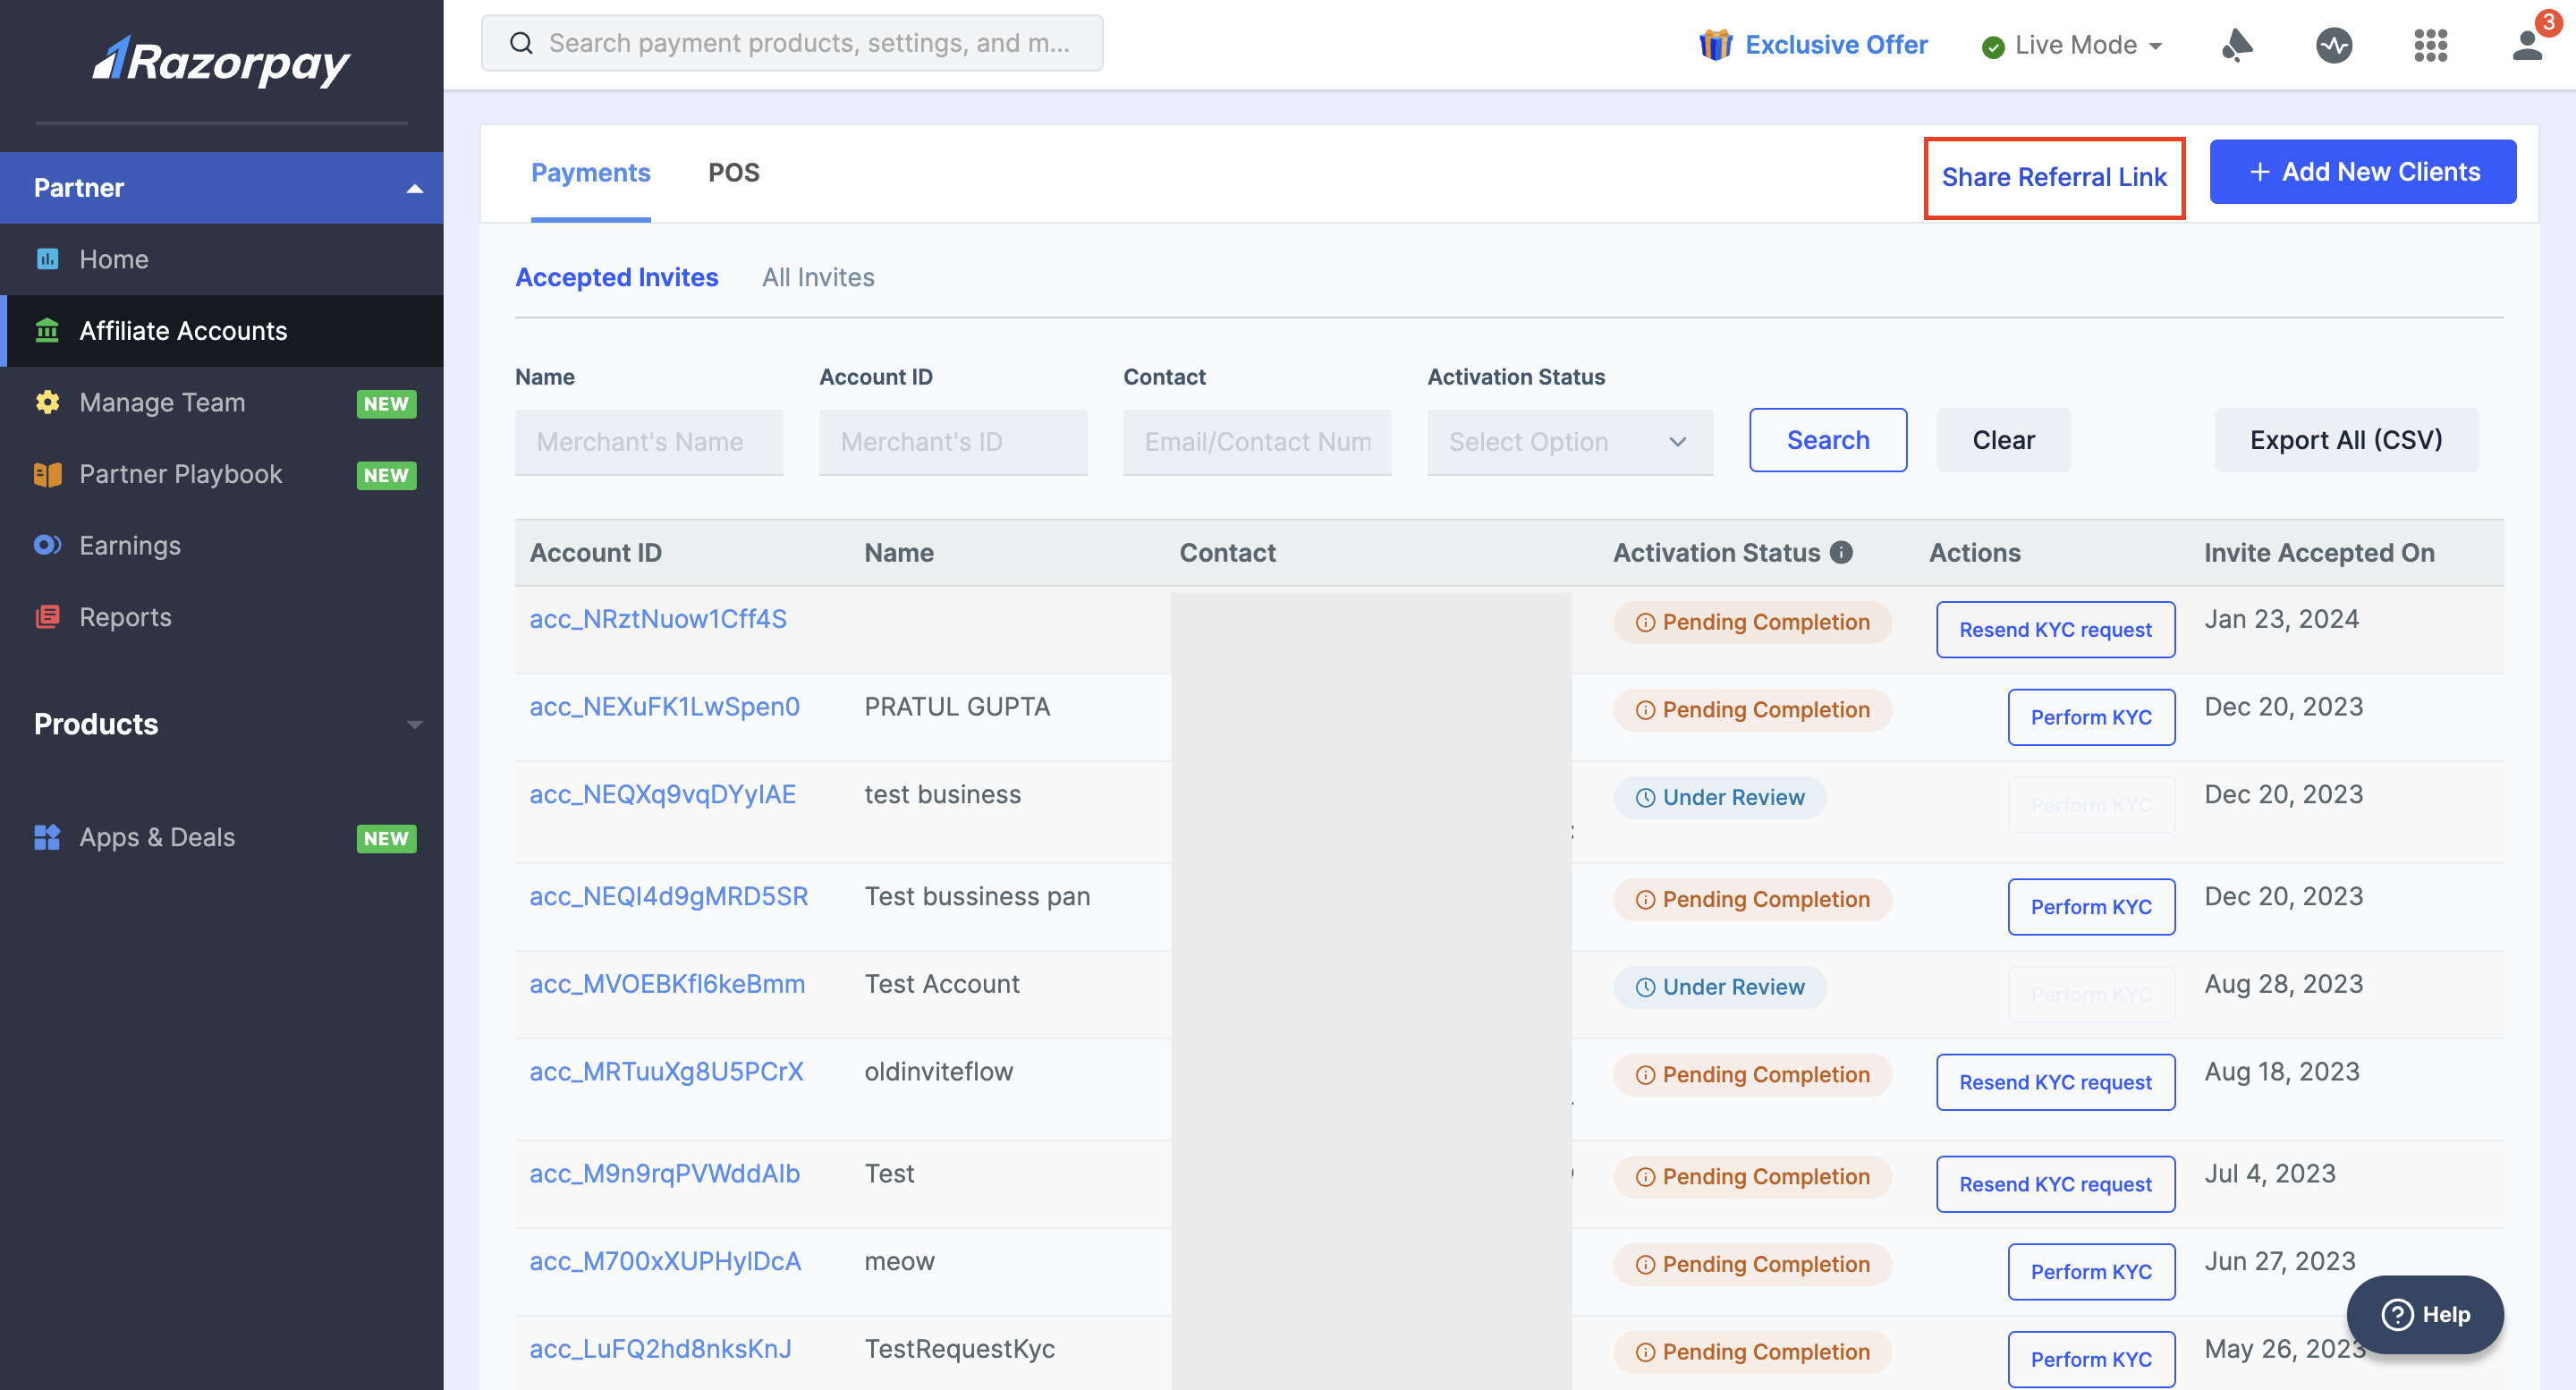
- For Partner accounts on which X referrals have been activated in the Share Referral Link modal, select Razorpay Payments or RazorpayX depending on the product you want to refer an affiliate.
- Select Yes, I will assist my client with their KYC.
- A drop-down page appears where you can share the link using:
- Copy button: This copies the referral link. You can copy-paste this link and send it via email or instant messaging apps such as WhatsApp.
- Facebook: Click the Facebook icon to share the referral link as a post on your Facebook account.
- Twitter: Click the Twitter icon to send a tweet with the referral link.
- WhatsApp: Click the WhatsApp icon to send a message with the referral link.
Request KYC Access During Client Onboarding
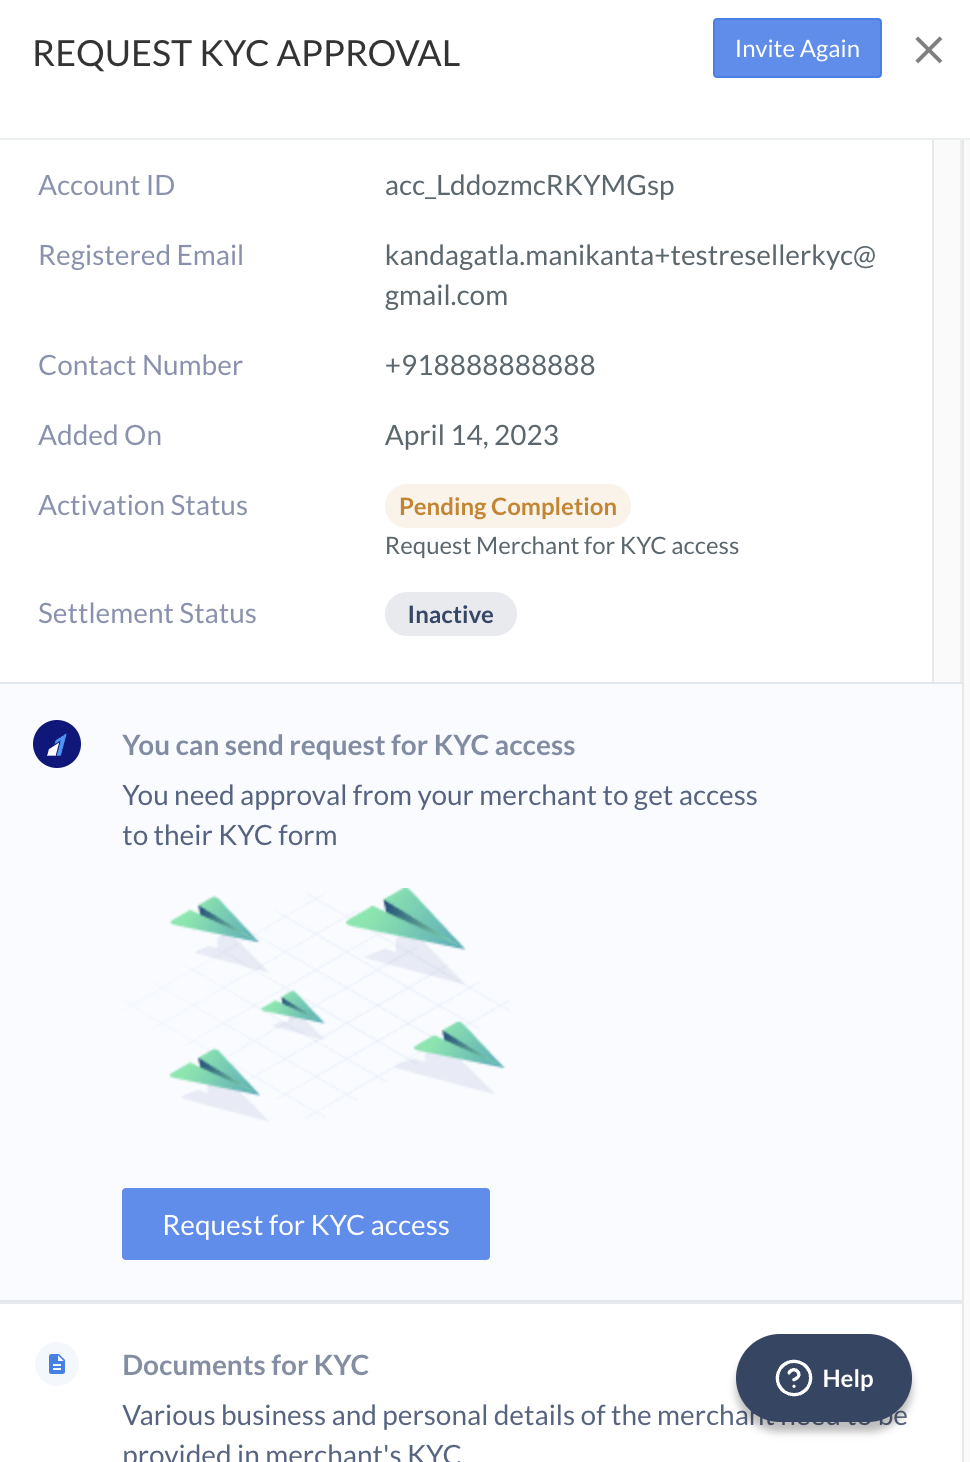
You can request and re-request KYC access during your client’s onboarding journey. To request KYC access:- In the Affiliate Accounts section of your Dashboard, click Request for KYC under the Actions column for the client you want to perform KYC.
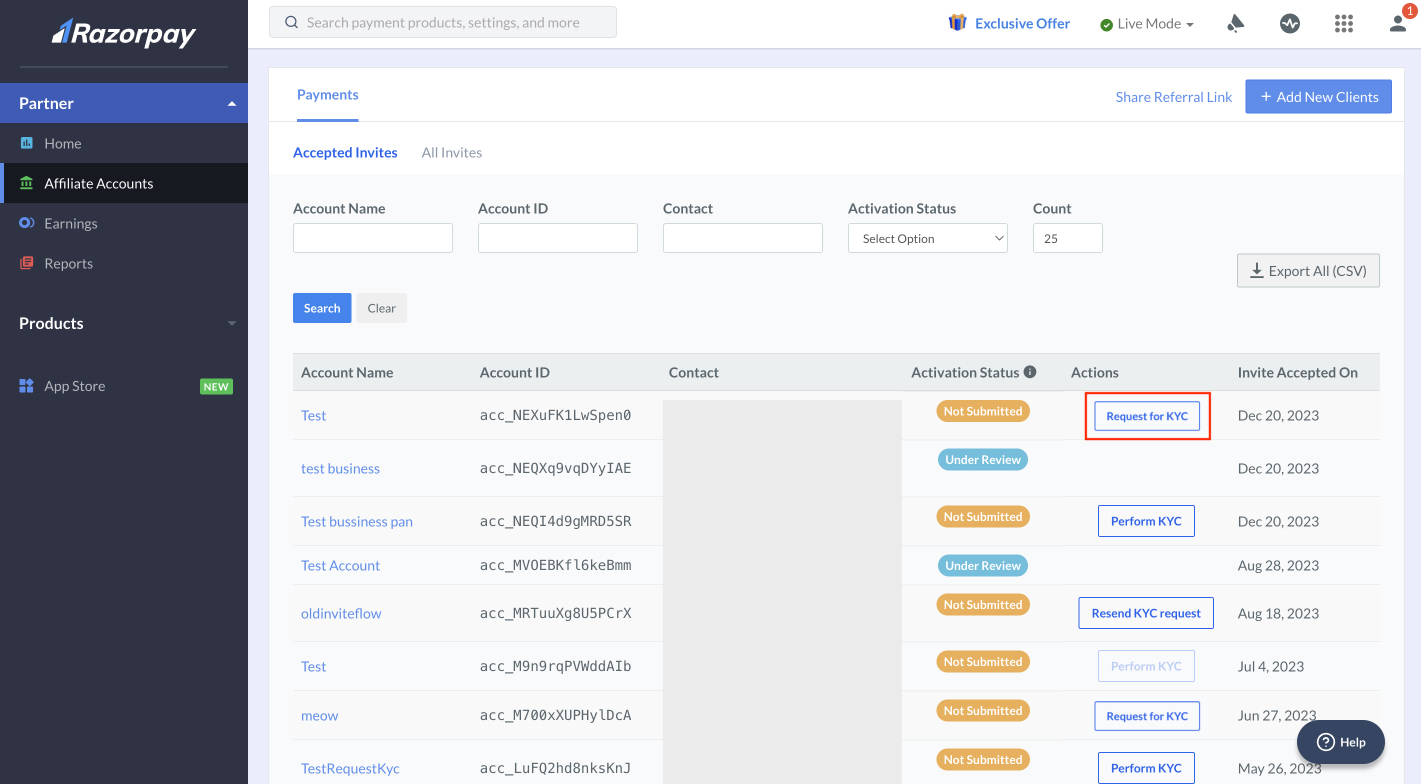
- After you click on Request for KYC, a side panel opens. Click Request for KYC access to raise a request. You can also find link to documentation for documents required for KYC in the side panel.
Perform KYC
After you request for KYC access:- The client receives an email to approve or reject the KYC request.
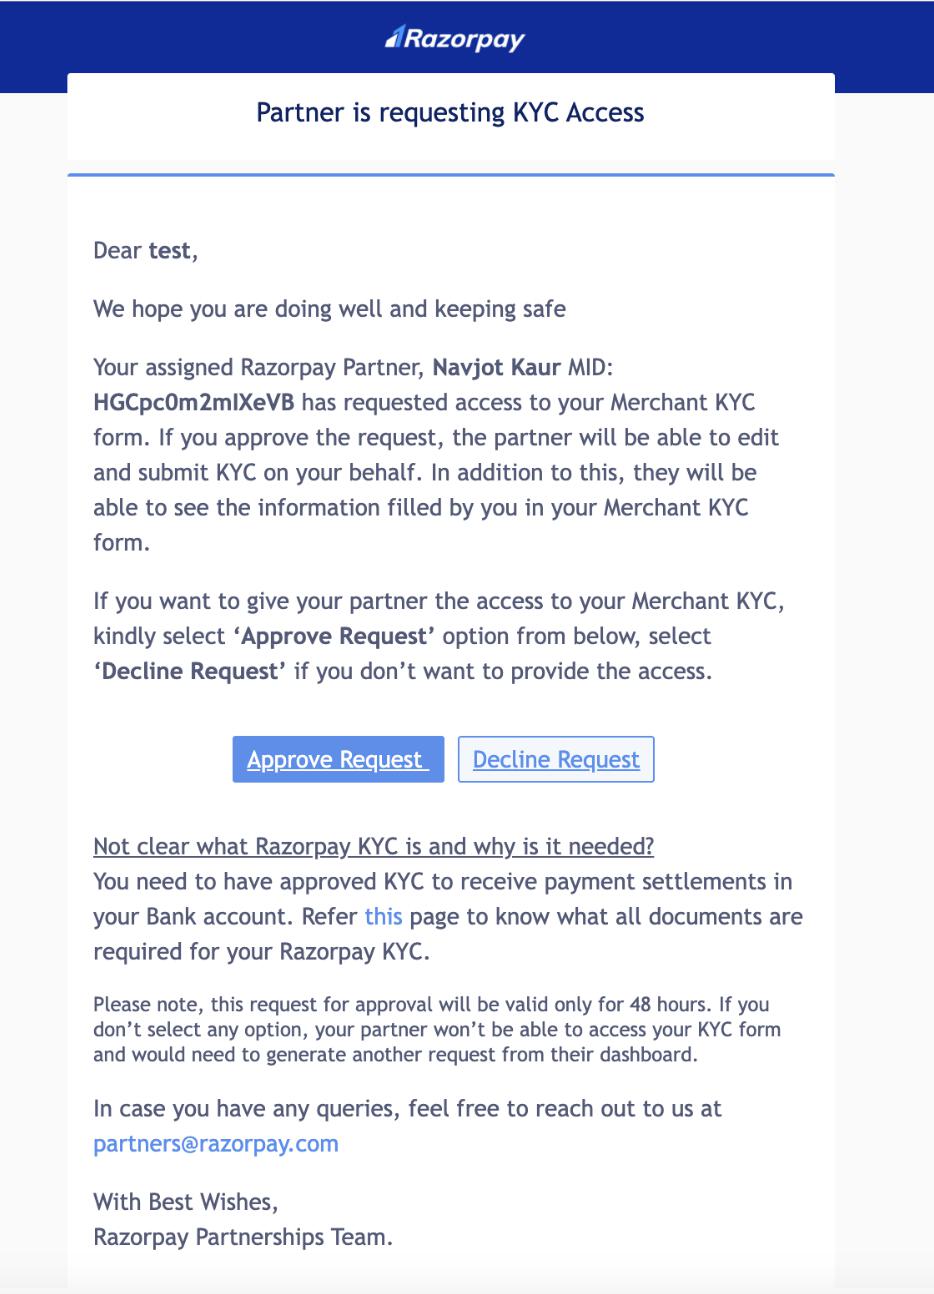
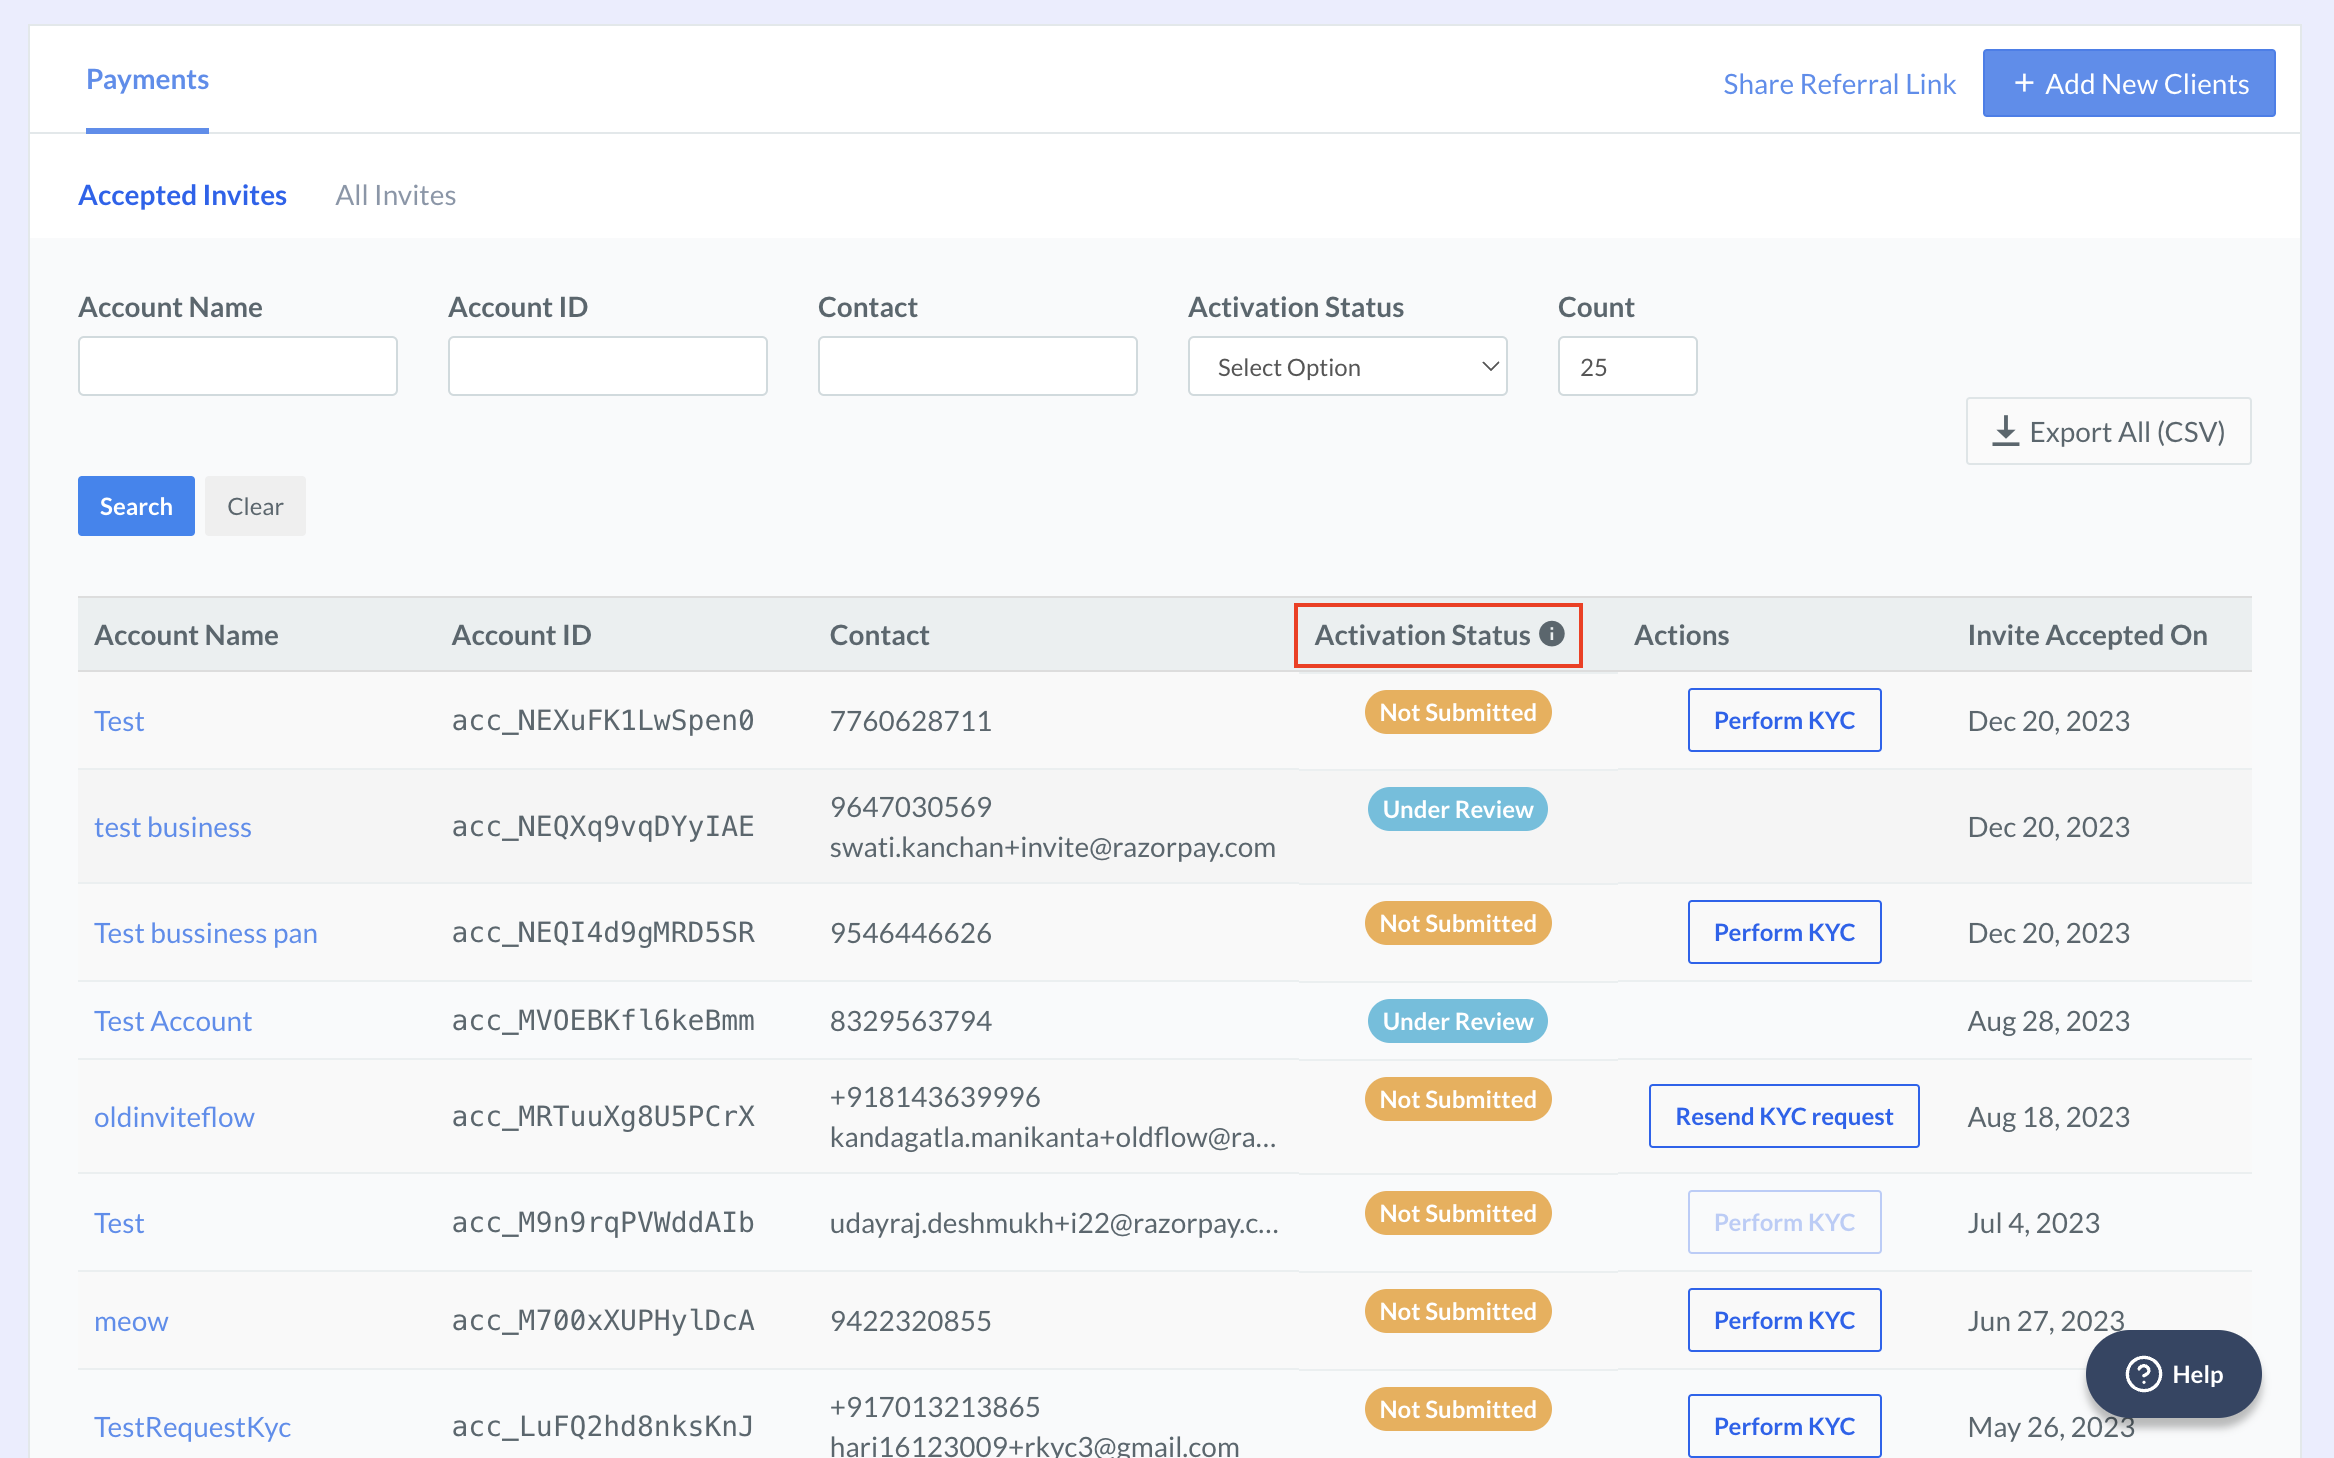
- If the client approves the request, you can fill in the KYC details from the Partner Dashboard by clicking on Perform KYC. You can check the KYC access request status on the Partner Dashboard.
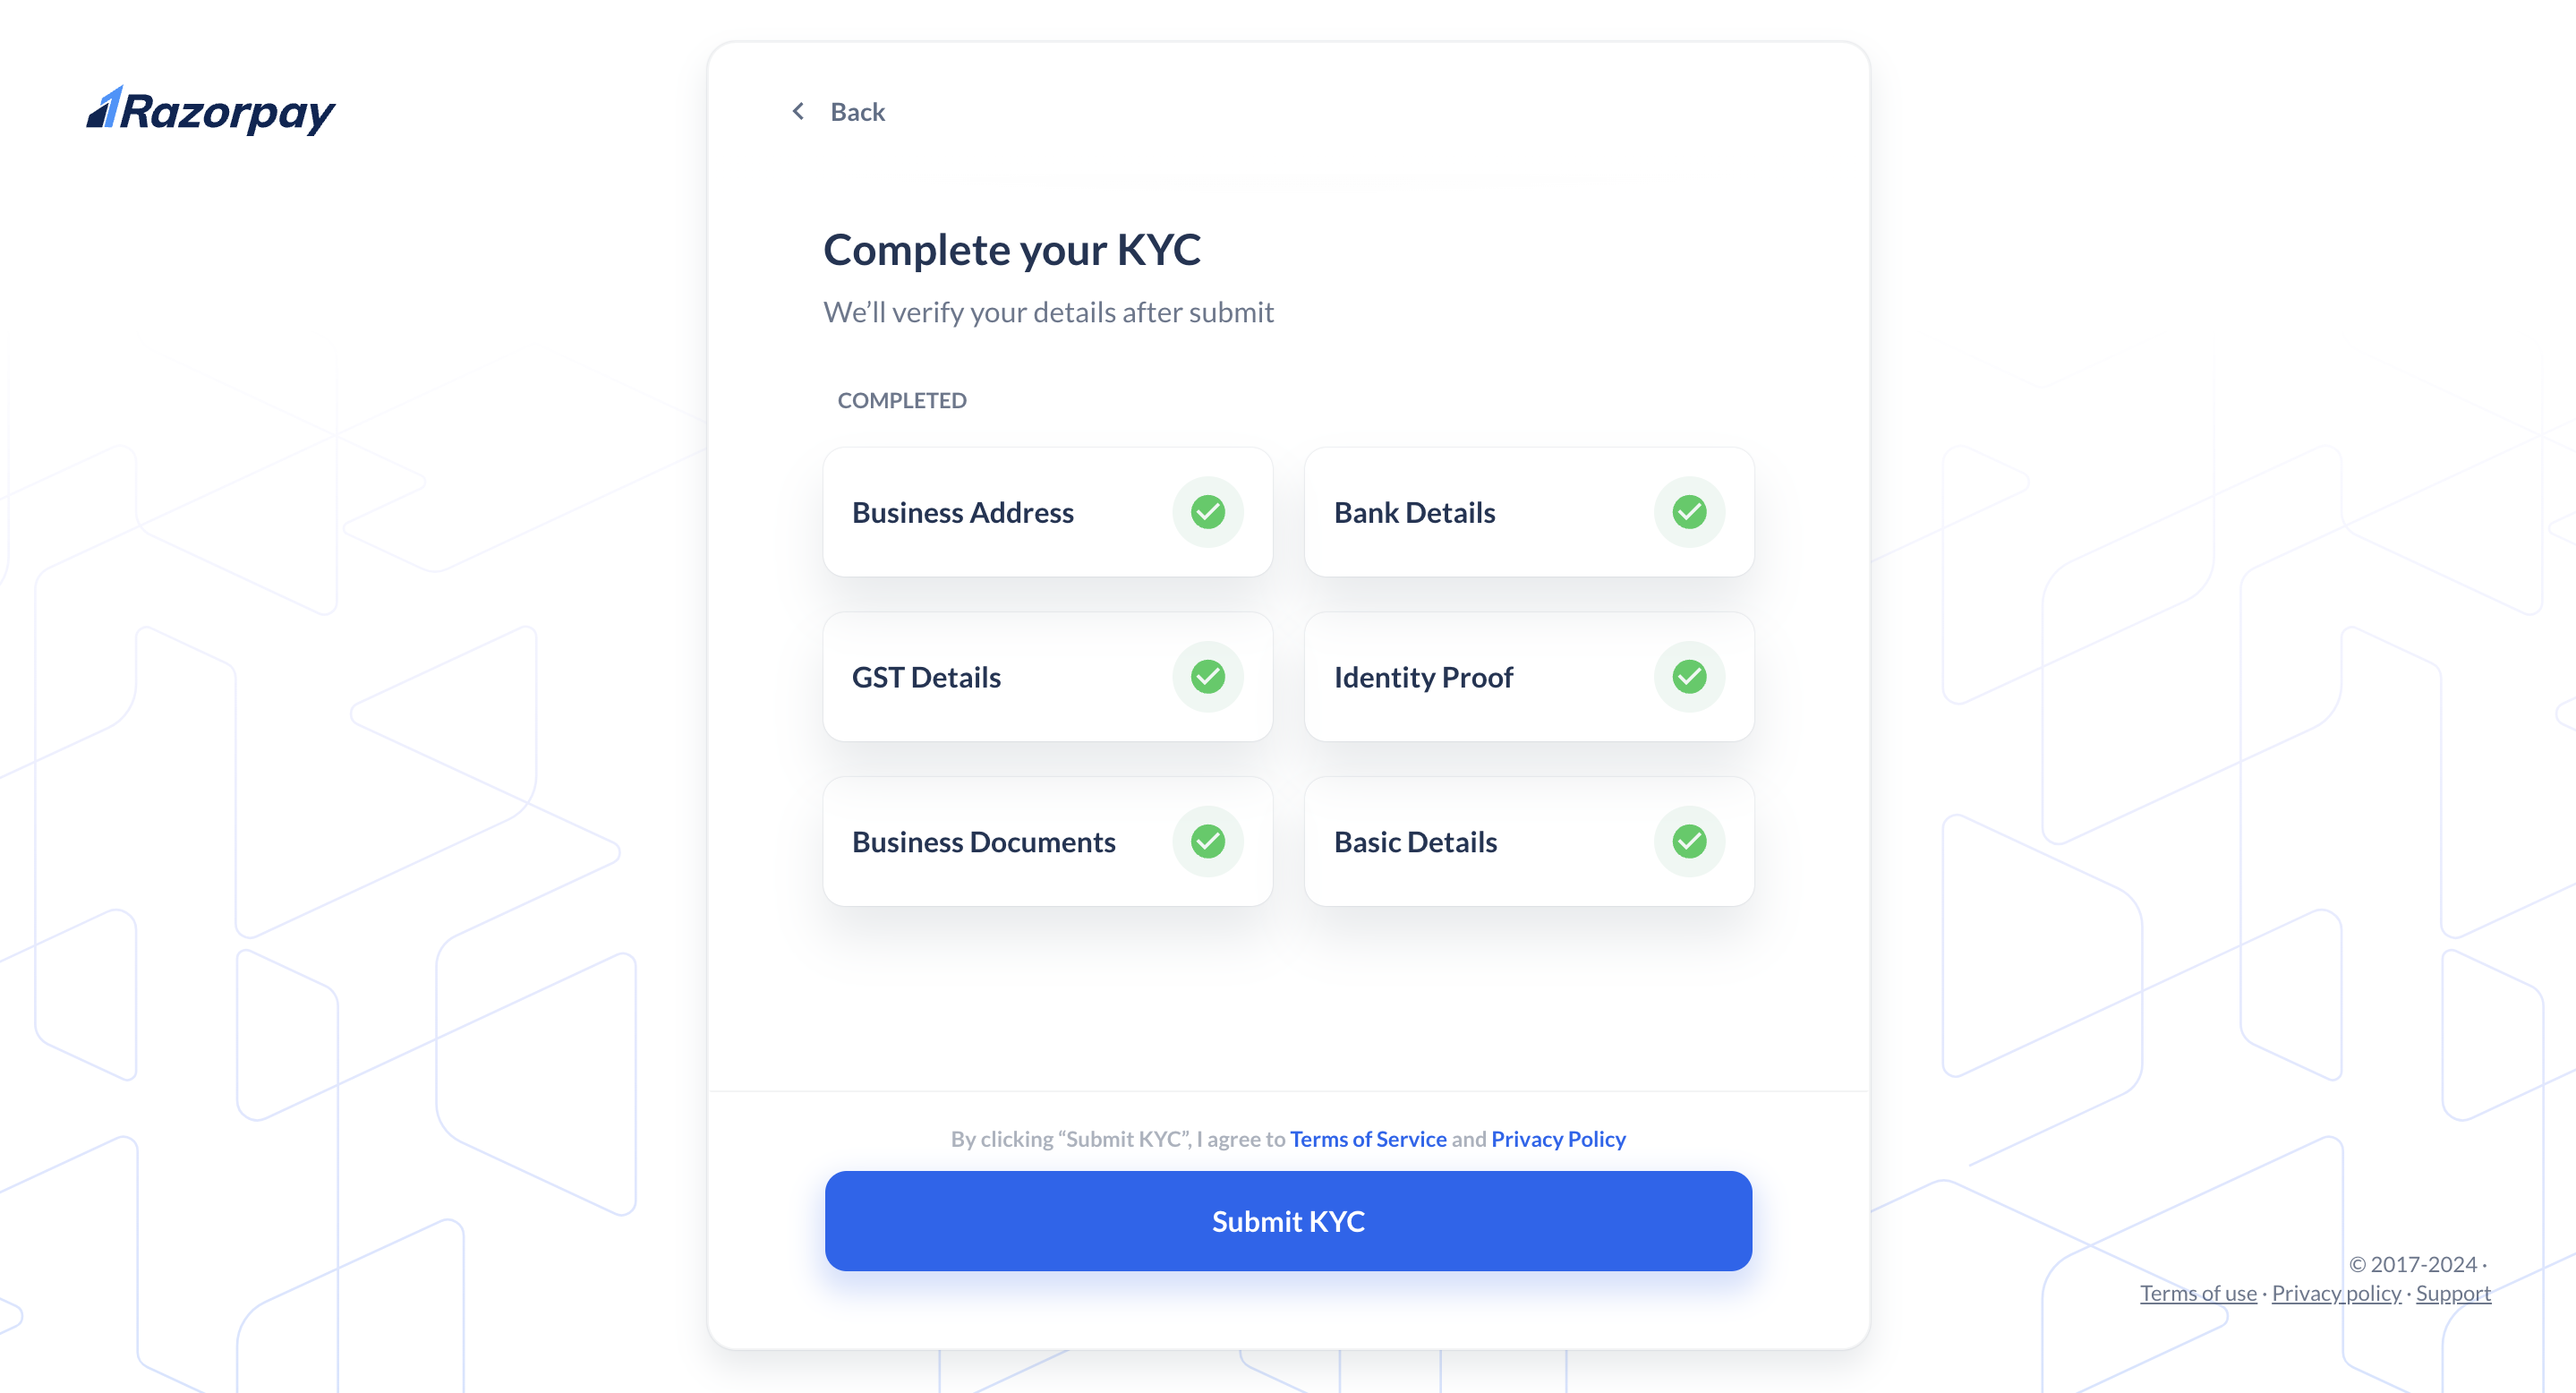
- You can view the activation statuses as shown here: