

1. Build Integration
Install and configure the WordPress plugin.
2. Test Integration
Test the integration by making a test payment.
3. Go-Live Checklist
Check the go-live checklist.
1. Build Integration
Follow the steps given below:1 Install Plugin
1 Install Plugin
There are two methods to install our WooCommerce plugin:
- Using WordPress Plugin Directory
- Manual Installation
- Download the plugin.
- Install it from the WordPress Plugin Directory.
2 Configure WooCommerce
2 Configure WooCommerce
Before you start:
- Ensure you have created a Razorpay account and your KYC is approved.
- You must have activated your business after the business activation email from Razorpay.
- You have generated the API keys from the Dashboard (Under Account & Settings → API Keys).
- Log in to your WordPress account and activate the Razorpay plugin in the WordPress Plugin Manager.
- Log in to your WooCommerce account, navigate to Settings and click the Checkout/Payment Gateways tab.
- Click Razorpay to edit the settings.
- Enable the Payment Method, name it Credit Card/Debit Card/FPX. This is shown on the Payment page your customer sees.
Handy TipsIf you cannot see the Razorpay payment option during WooCommerce checkout, update the plugin to the latest version.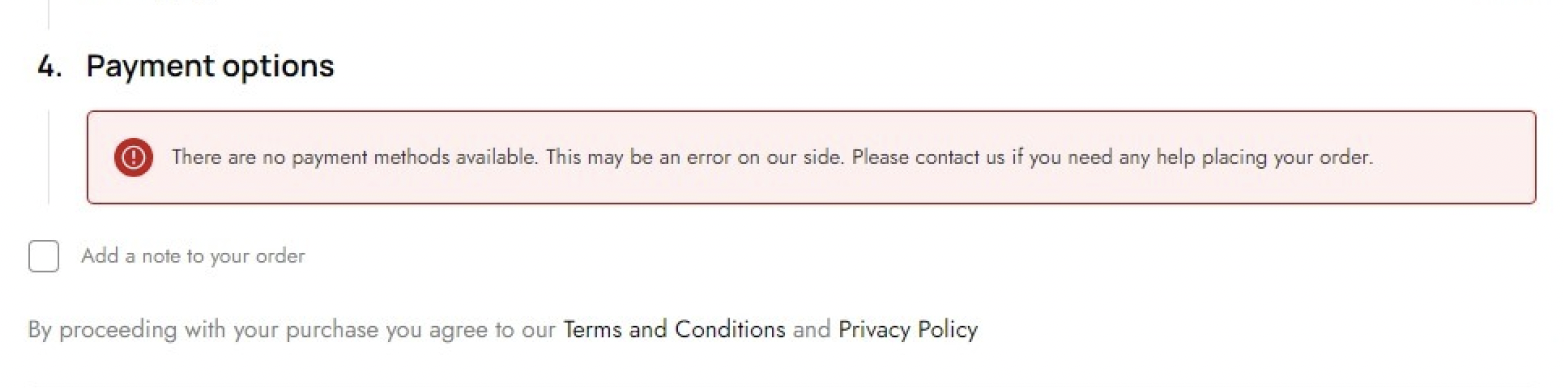
- Add in your [KEY_ID] and [KEY_SECRET] generated from the Razorpay Dashboard.
- Set the Payment Action to Authorize and Capture to auto-capture payments. If you want to capture payments manually from the Dashboard after manual verification, set the Payment Method to Authorize.
Configure WebhooksWebhook is auto-configured when you enter and save the API key ID and secret on the plugin settings page. You need to verify if webhooks are enabled on your Razorpay Dashboard. However, for versions lower than 3.5.0, you need to configure webhooks manually.If you regenerate your API keys, re-enter and save the new keys in the plugin settings page to re-trigger webhook auto-configuration.
payment.authorizedpayment.capturedpayment.failedorder.paid
2. Test Integration
After the integration is complete, a Pay button will appear on your web page/app. You need to click the button and make a test transaction to ensure that the integration is working as expected. You can start accepting actual payments from your customers once the test is successful. You can make test payments using one of the payment methods configured at the Checkout.- No money is deducted from the customer’s account as this is a simulated transaction.
- Ensure you have entered the API keys generated in the test mode in the Checkout code.
Supported Payment Methods
Supported Payment Methods
After the integration is complete, a Pay button appears on your webpage/app.Click the button and make a test transaction to ensure the integration is working as expected. You can start accepting actual payments from your customers once the test transaction is successful.Following are all the payment modes that the customer can use to complete the payment on the Checkout. Some of them are available by default, while others may require approval from us. Raise a request from the Dashboard to enable such payment methods.
You can make test payments using one of the payment methods configured at the Checkout.
FPX
FPX
You can select any of the listed banks. After choosing a bank, Razorpay Curlec will redirect to a mock page where you can make the payment a
success or a failure. Since this is Test Mode, we will not redirect you to the bank login portals.Wallet
Wallet
You can select any of the listed wallets. After choosing a wallet, you will be redirected to a mock page where you can make the payment
success or a failure. Since this is Test Mode, we will not redirect you to the wallet login portals.Cards
Cards
You can use one of the following test cards to test transactions for your integration in Test Mode.
Check the following lists:
Verify Payment Status
Verify Payment Status
You can track the payment status from the Dashboard or by polling APIs.
- Verify Payment Status From Dashboard
- Poll APIs
- Log in to the Razorpay Dashboard and navigate to Transactions → Payments.
-
Check if a
payment_IDhas been generated and note the status. In case of a successful payment, the status is marked ascaptured.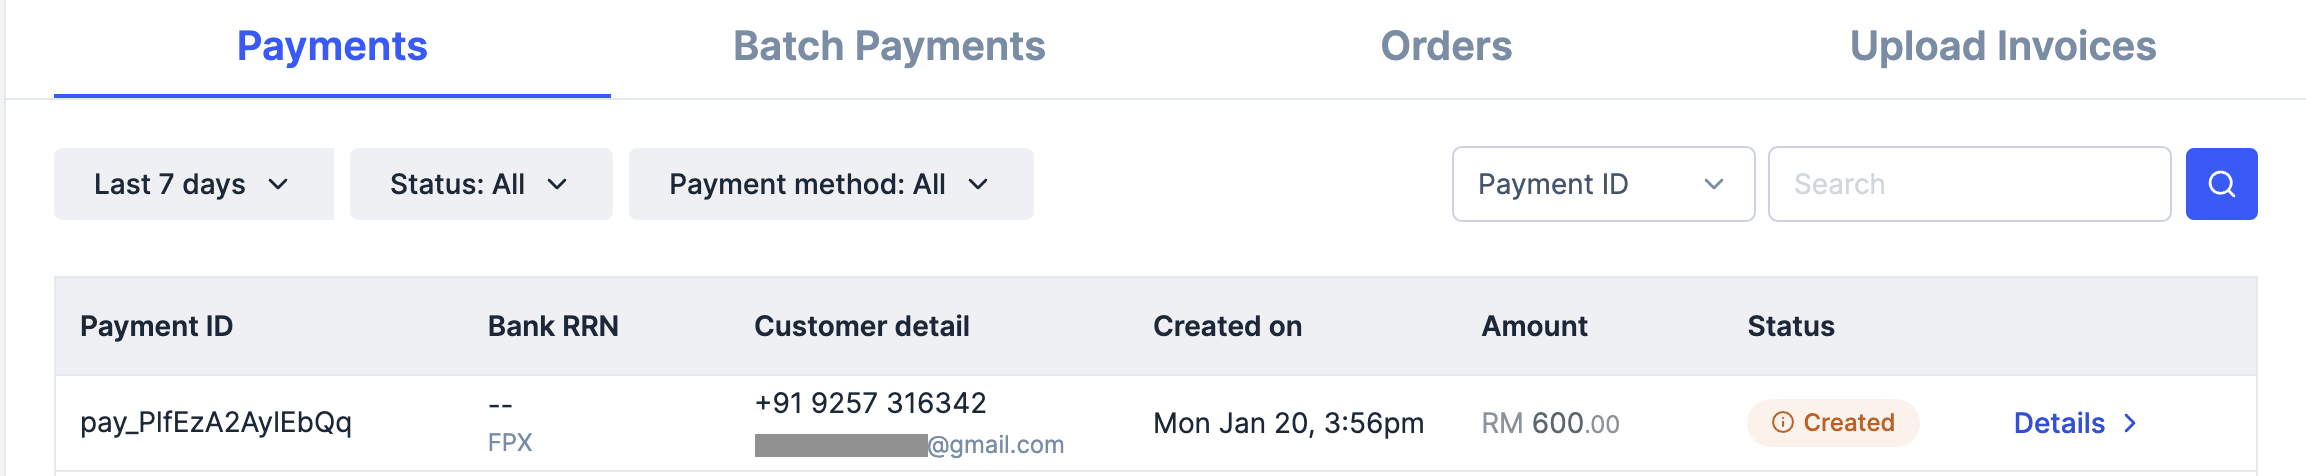
- Go to WooCommerce → Settings → Payments → Razorpay.
- Replace your Live API keys with Test Mode keys from the Razorpay Dashboard (Test Mode).
- Complete a test transaction.
- Switch back to Live keys before going live.
3. Go-live Checklist
Follow these steps before taking the integration live:1 Accept Live Payments
1 Accept Live Payments
Perform an end-to-end simulation of funds flow in the Test Mode. Once confident that the integration is working as expected, switch to the Live Mode and start accepting payments from customers.To generate API Keys in Live Mode on your Razorpay Dashboard:
- Log in to the Razorpay Dashboard and switch to Live Mode on the menu.
- Navigate to Account & Settings → API Keys → Generate Key to generate the API Key for Live Mode.
- Download the keys and save them securely.
- Replace the Test API Key with the Live Key in the Checkout code and start accepting actual payments.
2 Payment Capture
2 Payment Capture
After payment is
authorized, you need to capture it to settle the amount to your bank account as per the settlement schedule. Payments that are not captured are auto-refunded after a fixed time.- Auto-capture Payments (Recommended)
- Manually Capture Payments
Authorized payments can be automatically captured. You can auto-capture all payments using global settings on the Razorpay Dashboard. Know more about capture settings for payments.