

1. Enable Shiprocket Option on Payment Page
- Log in to the Dashboard and navigate to Payment Pages.
- Click the + Create Payment Page button.
- Click Select Payment page.
- Click Page Settings.
- Scroll down to the Create orders on Shiprocket section and click Enable.
-
A pop-up will appear informing you that the following fields will be added to your Payment Page. Click Continue.
- Name
- Address
- City
- State
- Pincode
- Continue with the creation of your Payment Page. Know more about how to Create a Payment Page.
2. Configure Your Shiprocket Account
- Log in to your Shiprocket Account or create one if you have not already.
- On your Shiprocket Dashboard:
- Navigate to All Channels and click + Add New Channel.
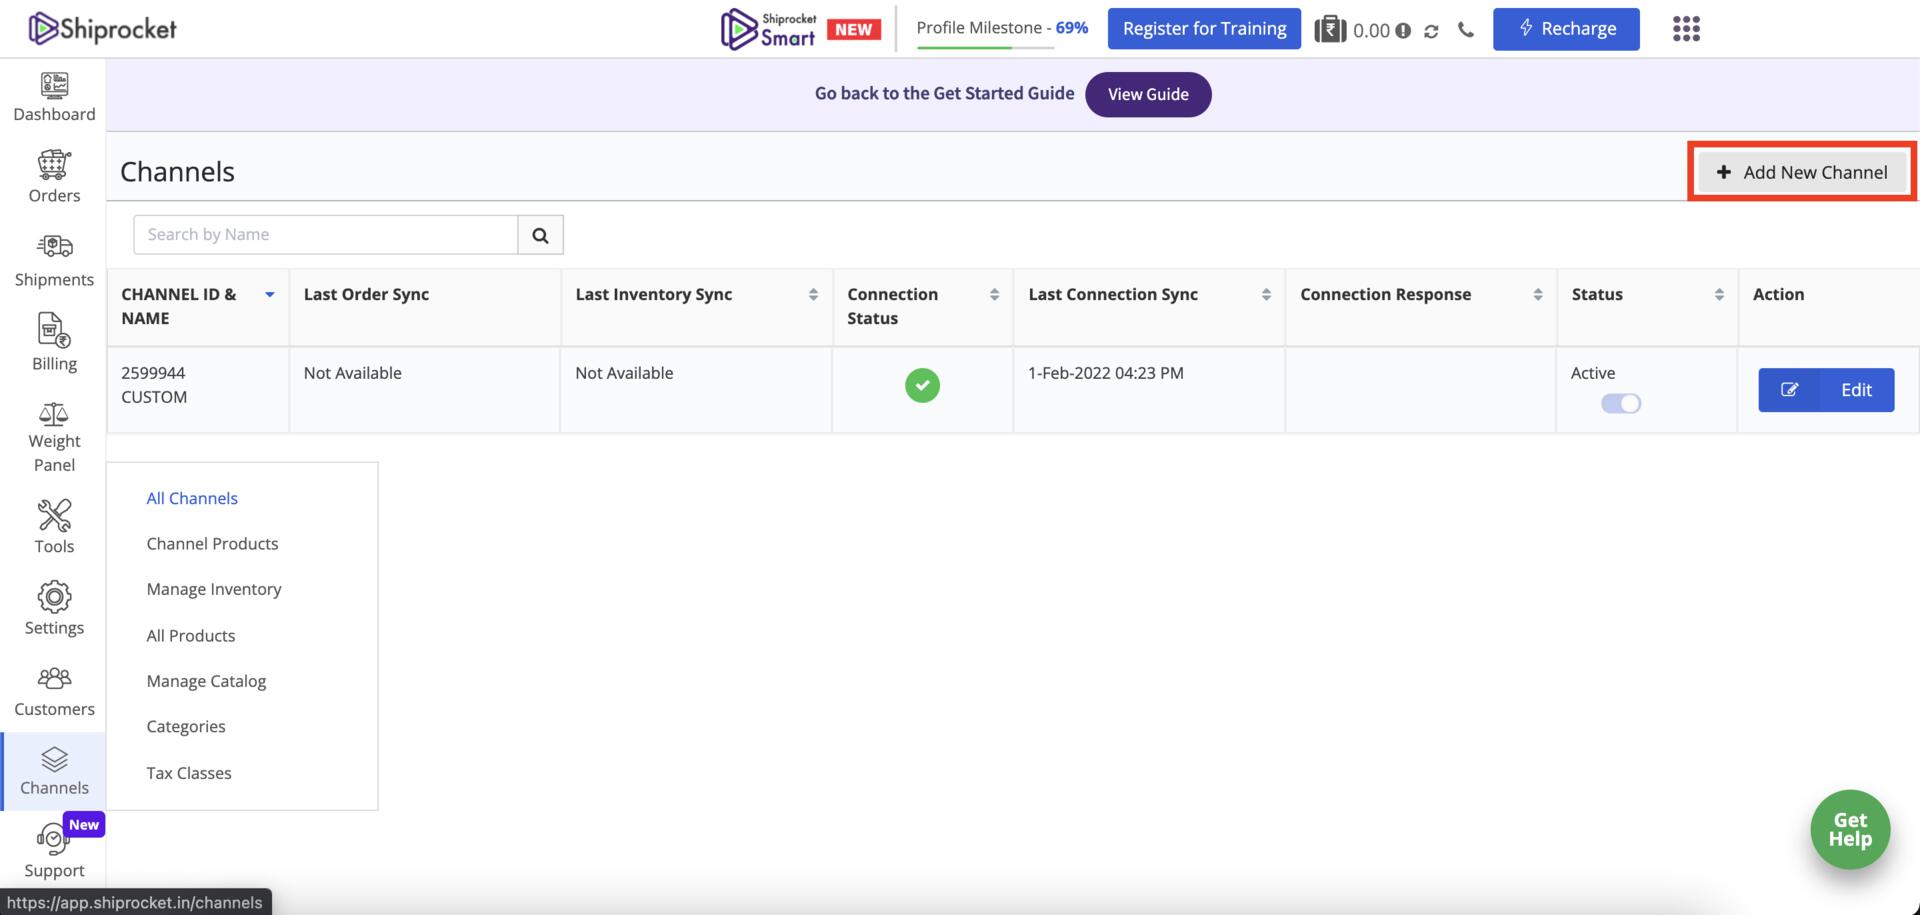
- Navigate to Razorpay Payment Pages and click Integrate.
- Click Connect with Razorpay. You will be redirected to the Razorpay login page.
- Navigate to All Channels and click + Add New Channel.
- Log in to your Razorpay Account.
- On the Authorize Shiprocket page, click Authorize to verify your account integration with Shiprocket.